How to Compress a PDF on Mac Without Making It Blurry
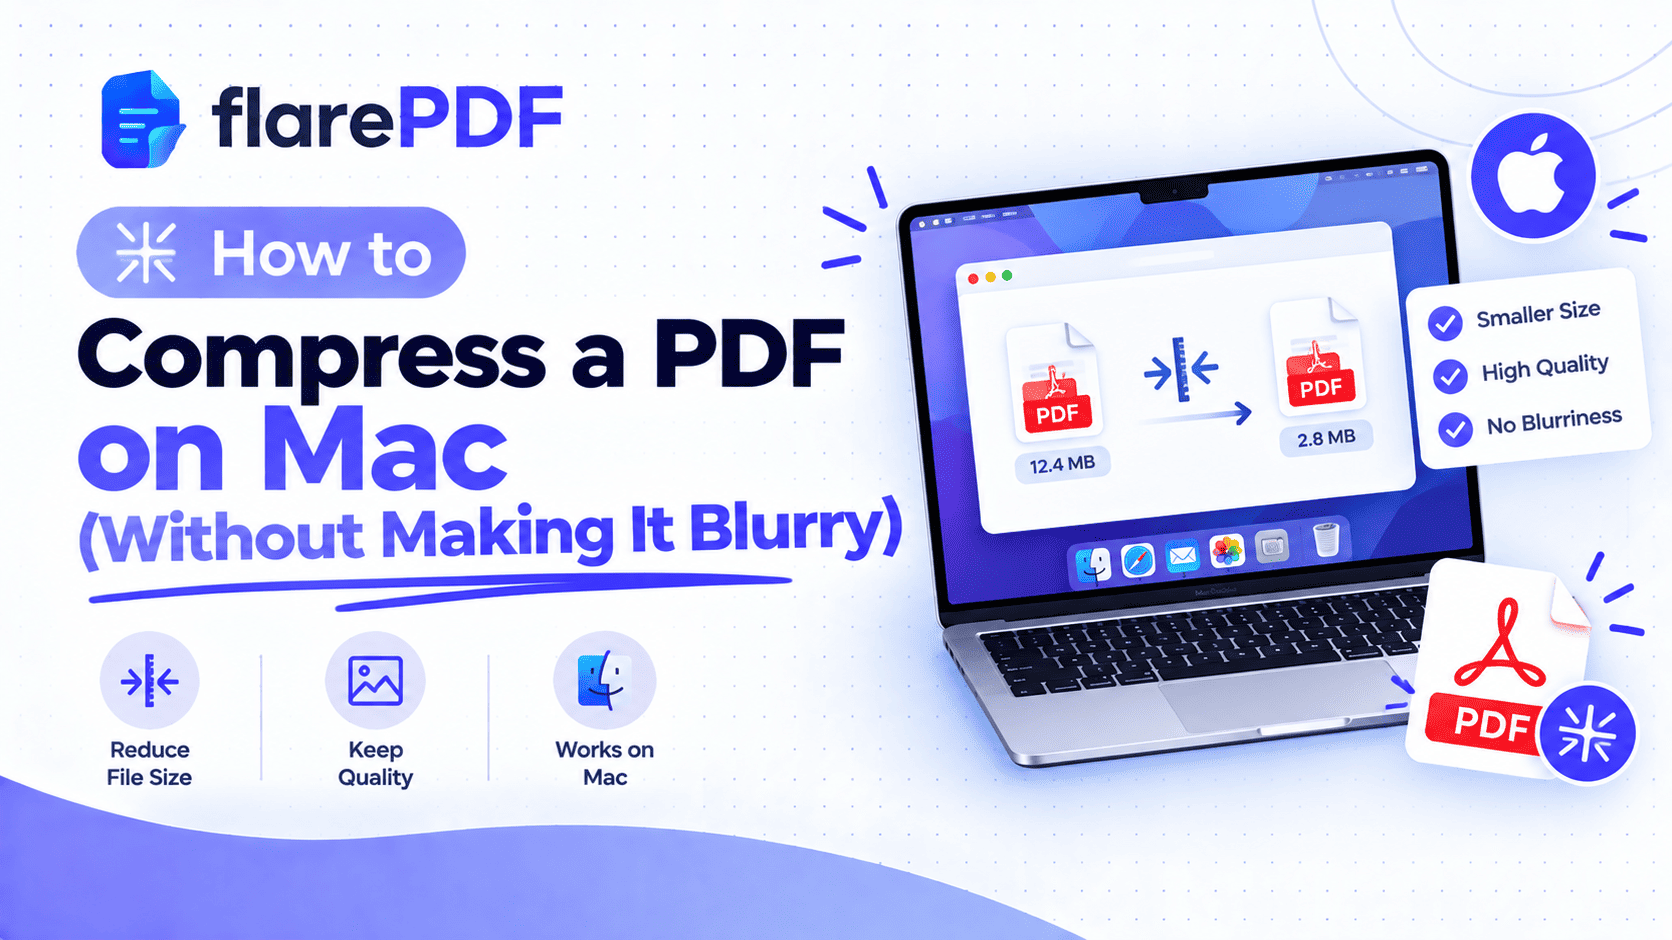
Learn how to compress a PDF on Mac without blurry pages. Use Preview, a custom Quartz filter, Shortcuts or a free online tool to shrink PDFs sharply.
How to Compress a PDF on Mac Without Making It Blurry
Quick answer:Here's the fastest built-in way to compress a PDF on Mac:
- Open the PDF in Preview.
- Choose File, then Export (not Export as PDF).
- Set Quartz Filter to Reduce File Size.
- Give the file a new name.
- Click Save.
One warning: this filter is very aggressive and often makes scans and photos blurry. This guide shows you how to fix that.
Your file is too big for email, or a job portal rejects it for going over 1MB. So you use Preview's Reduce File Size option, and the result is fuzzy, pixelated and sometimes unreadable.
This guide shows you how to compress a PDF on Mac and keep it sharp. You'll learn why Preview blurs your files, how to build a custom Quartz filter that doesn't, and three other free options: FlarePDF, the Shortcuts app and Terminal. FlarePDF is free, with no sign-up or login.
What Does Compressing a PDF on Mac Mean?
Compressing a PDF on Mac means making the file smaller, usually by shrinking the images inside it and storing data more efficiently. Done well, the pages look the same at normal zoom and the file takes up far less space. Done badly, images lose so much detail that text and photos turn blurry.
Most of a PDF's size comes from images, especially scanned pages and photos. Text and vector graphics are usually small already. PDF is an open standard, ISO 32000, and it supports several compression methods. The trick is choosing settings that save space without destroying detail.
Why Mac Users Need to Shrink PDF Files
Large PDFs cause the same problems on a MacBook as anywhere else.
- Email limits:Many services cap attachments at around 20–25MB.
- Upload portals:Job, visa, NADRA, university and government sites often set limits like 1MB, 500KB or even 200KB.
- Sharing:Smaller files send faster over WhatsApp, AirDrop and slow connections.
- Storage: Big scans quickly fill iCloud Drive.
Pro tip: Check the size before you compress. In Finder, select the PDF and press Command + Ito see the exact size.
How to Reduce PDF Size in Preview on Mac
Preview has a built-in Quartz filter called Reduce File Size.It's free and quick, and it works well on some files.
- Open the PDF in Preview.
- Choose File, then Export.
- Make sure Format is set to PDF.
- Open the Quartz Filtermenu and choose Reduce File Size.
- Change the file name, such as adding "-small", so you keep the original.
- Click Save.
Apple's Preview User Guide covers the Export options for your macOS version.
Quick note: Use Export, not Export as PDF. Only the Export window shows the Quartz Filter menu.
Why Does Preview Make My PDF Blurry?
Preview's Reduce File Size filter shrinks images to a low resolution and applies strong JPEG compression.That's fine for small diagrams or logos, but scanned pages and photos lose too much detail. Small print, stamps and signatures blur first.
Scanned PDFs and photos: Usually get much smaller, but often become blurry or pixelated.
Text-only PDFs:Barely shrink, and can even get bigger, because there are few images to compress.
Why does Reduce File Size make my PDF bigger?
Your PDF probably has little to compress. Text-based PDFs, such as exports from Word or Pages, are already efficient. Running them through the filter can add overhead instead of removing it. Keep the original in that case, or try a different method below.
How to Create a Custom Quartz Filter That Doesn't Blur
The best built-in fix is a custom Quartz filter with gentler settings. You make it once in ColorSync Utility, then pick it in Preview whenever you need it.
- Open ColorSync Utility. It's in Applications, then Utilities, or you can search for it with Spotlight.
- Click the Filters tab.
- Find Reduce File Size, click the menu arrow beside it and choose Duplicate Filter.
- Rename the copy, for example "Reduce File Size – Sharp".
- Expand Image Sampling. Set the resolution to about 150–200 pixels per inch, and remove any small maximum pixel limit.
- Expand Image Compression. Keep the mode as JPEG and drag the quality slider toward High.
- Close ColorSync Utility. The filter saves automatically.
Now open your PDF in Preview, choose File, then Export, and select your new filter from the Quartz Filter menu. Apple's ColorSync Utility User Guide explains each filter option.
Good starting settings:
150 DPI, high quality: clear on screen, good for email and most portals.
200 DPI, high quality: sharper small print, slightly larger files.
300 DPI: for printing, with much less size saving.
Pro tip: Make two filters, a "Sharp" one at about 200 DPI and a "Small" one at about 120–150 DPI. Try Sharp first, and use Small only if the file is still too big.
What if my custom filter doesn't show up in Preview?
Copy the filter file to the system Filters folder. Custom filters are saved in your user Library under Filters. On some macOS versions, Preview only lists filters stored in the main Library, then Filters folder.
- In Finder, choose Go, then Go to Folder, and type ~/Library/Filters.
- Copy your new .qfilter file.
- Paste it into /Library/Filters. You may need to enter your Mac password.
- Quit and reopen Preview.
Menu names and folder behavior can vary between macOS versions.
How to Compress a PDF on Mac With FlarePDF
If you'd rather not build filters, use the free online PDF compressor from FlarePDF in Safari or Chrome. There's nothing to install and no account to create.
- Open the FlarePDF Compress PDF page on your Mac.
- Upload the PDF. [VERIFY: file size limit]
- Choose a compression level, starting with the lightest. [VERIFY: compression level options]
- Compress the file and download it.
- Check the result by zooming in on text and images.
Quick note: Always compare the compressed file with the original before you send it. If small text looks soft, go back to the original and use a lighter setting.
Other Ways to Compress a PDF on Mac
How do I compress a PDF with the Shortcuts app?
Recent macOS versions include an "Optimize File Size of PDF" action in Shortcuts.
- Open Shortcuts and create a new shortcut.
- Add the action Optimize File Size of PDF.
- Add Save Fileso the result is saved as a new file.
- In the shortcut's settings, turn on Use as Quick Action so it appears when you right-click a PDF in Finder.
The action uses Apple's own settings, so check the quality of the result.
How do I compress a PDF on Mac with Terminal?
Advanced users can use the free Ghostscript tool, installed with Homebrew. It gives very good size-to-quality results.
- Install it with brew install ghostscript.
- Run:
gs -sDEVICE=pdfwrite -dCompatibilityLevel=1.4 -dPDFSETTINGS=/ebook -dNOPAUSE -dQUIET -dBATCH -sOutputFile=smaller.pdf input.pdf
The /ebook setting targets about 150 DPI, which is a good balance for screen reading. Use /printer for sharper output or /screen for the smallest files. See the Ghostscript documentation for more options.
Can I compress a PDF in Adobe Acrobat on Mac?
Yes.Acrobat's Compress or Reduce File Size tool shrinks PDFs, and the PDF Optimizer in paid Acrobat versions gives detailed control over image quality. The free Acrobat Reader doesn't include compression.
How to Check Your Compressed PDF for Size and Sharpness
Always check both the file size and the image quality before sending.
Check the size:Select the file in Finder and press Command + I. Compare it with the original and with the limit you need to meet.
Check the quality: Open the file in Preview and zoom to 100–150%. Look closely at small print, stamps, signatures and photos.
Check every page: Some pages compress worse than others, especially photos and color scans.
If the file is sharp but still too large, try the tips below before compressing harder.
How to Get a Mac PDF Under 1MB, 500KB or 200KB
Combine light compression with other size savings rather than crushing image quality.
- Delete extra pages first. Remove blank or unneeded pages with Organize PDF. See how to delete pages from a PDF.
- Crop scan margins. Trim dark borders with Crop PDF.
- Rescan in grayscale. Color scans are far larger than grayscale or black and white.
- Use your Sharp filter, then your Small filter. Step down only if needed.
- Split the fileinto parts if the portal allows several uploads. Use Split PDF or follow our guide on how to split a PDF into multiple files.
For more size targets on every device, read our full guide on how to compress PDF files without quality loss.
Key Features and Benefits of FlarePDF Compress PDF
Free to use
You can compress PDFs on your Mac without paying anything. [VERIFY: usage or file size limits]
No app or account
It works in your Mac's browser. There's no software to install and no login.
No filters to set up
Upload, compress and download. You don't need to touch ColorSync Utility. [VERIFY: compression level options]
Related tools in one place
Merge, split, organize and crop your PDF before compressing, all with free FlarePDF tools.
Why Choose FlarePDF?
Preview is great when your filter is set up. FlarePDF is the quick option when you need a smaller file now and don't want to experiment with settings.
It's a good fit when you:
- Need to hit an upload limit quickly.
- Don't want to install Homebrew or build Quartz filters.
- Use a shared or work Mac where you can't change system folders.
Quick note on privacy: Read any site's privacy policy before uploading personal documents. You can read FlarePDF's policy on the Privacy page. [VERIFY: file processing and deletion details before adding any claim]
Tips and Common Mistakes When Compressing PDFs on Mac
- Keep the original. You can't restore lost detail from a compressed copy.
- Use Export, not Save. Exporting creates a new file and leaves the original untouched.
- Don't compress twice. Each pass with a lossy filter makes images softer. Go back to the original instead.
- Skip compression for text-only PDFs. They're usually small already and can get bigger.
- Merge first, compress once. If you combine several PDFs, compress the final file only once.
- Scan smarter. Scanning in grayscale saves more space than any filter. See how to scan a document to PDF.
- Rename clearly. Add the size to the name, such as "Transcript-450KB.pdf", so you upload the right version.
Real-World Examples
The student
Ayesha's 12MB scanned transcript fails her university portal's 2MB limit. Preview's Reduce File Size makes it unreadable, so she uses her custom 150 DPI filter instead and gets a sharp 1.6MB file.
The job seeker
A job seeker in Lahore needs his CV and certificates under 1MB. He deletes two blank pages, crops the scans and compresses the file online to about 800KB.
The freelancer
A designer in Chicago exports a 40MB portfolio from InDesign. She runs Ghostscript with /printer settings to keep her images crisp and gets it under her client's 20MB email limit.
The small business owner
A shop owner in Karachi scans receipts in color on her iPhone. She switches to grayscale using our guide on how to scan documents on iPhone, and her monthly PDF shrinks by more than half.
Related PDF Tools You May Need
- Remove extra pages: Use Organize PDF before compressing.
- Break up large files: Split your PDF for strict upload limits.
- Combine, then shrink: Merge PDF files and compress the result once.
- Trim scan borders: Crop PDF pages to cut empty margins.
- Rescan cleanly: Use Scan to PDF for smaller, clearer scans.
Frequently Asked Questions
How do I compress a PDF on Mac for free?
Open the PDF in Preview, choose File and then Export, set Quartz Filter to Reduce File Size and save it under a new name. For sharper results, use a custom Quartz filter or a free online compressor like FlarePDF.
How do I reduce PDF size in Preview?
In Preview, choose File, then Export, not Export as PDF. Set Format to PDF, choose Reduce File Size from the Quartz Filter menu, rename the file and click Save. Check the result, because this filter can blur scans.
Why does Preview make my PDF blurry?
Preview's Reduce File Size filter shrinks images to a low resolution and applies strong JPEG compression. Scanned pages and photos lose detail, so small text and signatures look fuzzy. A custom filter at 150 to 200 DPI keeps them sharper.
How do I compress a PDF on Mac without losing quality?
Create a custom Quartz filter in ColorSync Utility with about 150 to 200 DPI and high JPEG quality, then use it in Preview's Export window. You can also use a light setting in an online compressor, or Ghostscript with the ebook or printer setting.
Why does Reduce File Size make my PDF bigger?
Text-based PDFs have few images to compress, so Preview's filter can add overhead instead of saving space. Exports from Word or Pages are usually small already. Keep the original, or remove pages and crop margins to save space.
Can I compress a PDF with the Shortcuts app on Mac?
Yes. Create a shortcut with the Optimize File Size of PDF action and a Save File action, then turn on Use as Quick Action. You can then right-click a PDF in Finder and compress it in one step.
How do I check a PDF's file size on Mac?
Select the PDF in Finder and press Command and I to open Get Info. The size appears near the top of the window. Compare it with the original file and with the upload or email limit you need to meet.
How do I compress a PDF to under 1MB on Mac?
Delete extra pages, crop scan margins and rescan in grayscale if possible. Then compress with a custom 150 DPI Quartz filter or a balanced online setting. If it is still too large, split the PDF into smaller parts.
Conclusion
Now you know how to compress a PDF on Mac without making it blurry. Preview's Reduce File Size is quick but harsh, so build a custom Quartz filter at 150–200 DPI, or use a light online setting. Remove extra pages and crop scans first, keep your original, and always zoom in to check quality before you send.
Need a smaller PDF right now? Try the free Compress PDF tool. No sign-up, no login.